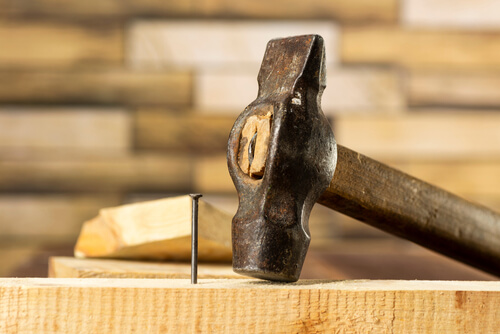
Are you ready to tackle your DIY project with confidence? Hammer fixings are perfect for home improvement projects.
They’re lightweight, easy to use, and reliable. Whether you’re installing shelves, hanging artwork, or completing masonry work, hammer fixings are sure to get the job done.
Today, ASP will walk you through the process of installing hammer fixings to simplify your project.
What You Will Need
For any DIY project using hammer fixings, you need the right tools to pair with it:
- Hammer fixings
- Hammer
- Power drill
- Drill bits
- Tape measure and pencil
- Spirit level
- Depth gauge
PPE: When working with sharp or electrical tools, ensure that you wear safety gloves and goggles to protect yourself from damage.
A Step-by-Step Installation Guide to Hammer Fixings
Once you have gathered the necessary tools, it’s time to dig into the installation.
1. Preparing the Surface
Clean the surface with a vacuum cleaner and brush to remove any dirt and debris where you’ll be installing the fixings.
Then, check whether the surface is suitable for the screws. Concrete, bricks, and solid masonry are all highly compatible with hammer fixings. Avoid brittle surfaces like plastic or drywall.
2. Marking and Drilling
Use a tape measure and pencil to mark the areas where you will be installing the hammer fixings as a guide.
Select a drill bit that matches the diameter of your fixing, and drill into the surface with your drill. Use a depth gauge to prevent drilling too deep.
The depth should be slightly deeper than the length of the fixing.
3. Inserting the Fixing
Manually push the nylon plug into the wall or surface, directly into the previously drilled holes.
This plug will expand to grip the inside of the hole when the screw is hammered in. Then, place the screw through the item, e.g., a piece of art, and into the plug.
Hammer the screw in place until it sits flush with the surface.
4. Final Checks
Test the stability of each fixing to ensure it’s fastened tightly onto the wall. It shouldn’t move or wiggle.
If you’re installing multiple hammer fixings, ensure they are evenly spaced out to distribute the load.
Choose ASPLTD for High-Quality Hammer Fixings
At ASP, we sell high-quality screws for any project.
Whether you’re a professional builder or an experienced DIY’er, our screws can meet the requirements of any task.
Browse our hammer fixings for a safe, secure, and reliable installation.
FAQs
How do I choose the right size hammer fixing?
The size of the hammer fixing should be able to hold the weight of the item you are securing.
Ensure the length of the fixing is appropriate for the thickness of the material, plus a little extra for a secure anchor inside.
Can I remove the hammer fixings after installation?
Yes, hammer fixings can be removed after installation.
Simply unscrew the screw part of the fixing and pull out the plug. You can leave the plug in place if it does not interfere with any future work.
What should I do if the fixing doesn’t feel secure?
If the hammer fixing feels loose or unstable, ensure that the hole is bored to the proper depth and diameter.
You may need to replace the fixing with one that is more appropriate for the material’s density, or you may want to try a different style of fixing for better grip.
Are hammer fixings suitable for outdoor use?
Yes! Hammer fixings can be used outdoors.
However, opt for fixings made from corrosion-resistant materials, such as stainless steel or those with a protective coating, especially in areas with exposure to high levels of moisture or salt.